Barbara Shaurette
Python Developer and Educator
Building a Simple Slack App Using Flask
2022-03-09
Folks, there is a lot of documentation out there about building Python apps and integrating them with Slack. A lot of it is outdated because of Slack API changes - even the Slack docs have a few broken links. So here I am, about to add to that confusing collection with my own guide. But I guarantee that what I'm going to describe works as of the date of this blog post.
My specific use case is a little utility app that deletes objects from a few different caches and data stores. Up until now we (and by "we" I mean the SRE team I'm on) have used a collection of scripts and commands, but we wanted to simplify the process by triggering all of those disparate processes with a simple Slack mention.
What I've built involves two components:
- the Slack app, which is assembled through the UI at api.slack.com
- the Flask app to receive and send messages
What I am not going to do is tell you how to structure and deploy your app, or how to create your Slack workspace - those are things you can find elsewhere.
Starting in Slack
You will need to be a part of, or have created, a Slack workspace to get started. From the Slack API home page, select "Create a New App", "From scratch", and then give your app a name and select the workspace you want it to live in.


Once you hit "Create App", your app will be assigned an id, and you'll be taken to a Basic Information page where you can start configuring things. As you scroll down on that page, you'll see your app credentials, some places to generate tokens, a section on making display changes, etc. All of that can be ignored for now. What you will want to do is go ahead and create a bot user - this will be the "user" account that will live in Slack and interact with your Flask app.

You'll be taken to the App Home page, where a "Review Scopes to Add" button will take you to the "OAuth & Permissions" page. Here, you can assign scopes to your bot (you'll be able to modify those scopes later if you need to).

The list of scopes is long and can be a little confusing, but for a simple app that just sends and receives requests, `app_mentions:read` and `chat:write` are probably all you need. `channels:read` can also be useful.

Another thing you'll need to look at is tokens, at the top of the "OAuth & Permissions" page. Depending on how secure you need your app to be, you'll have an important decision to make here. If you go with token rotation, you'll need to build a separate process that regenerates tokens as they expire. Much simpler (but less secure) are OAuth tokens, which are generated one time and don't expire.
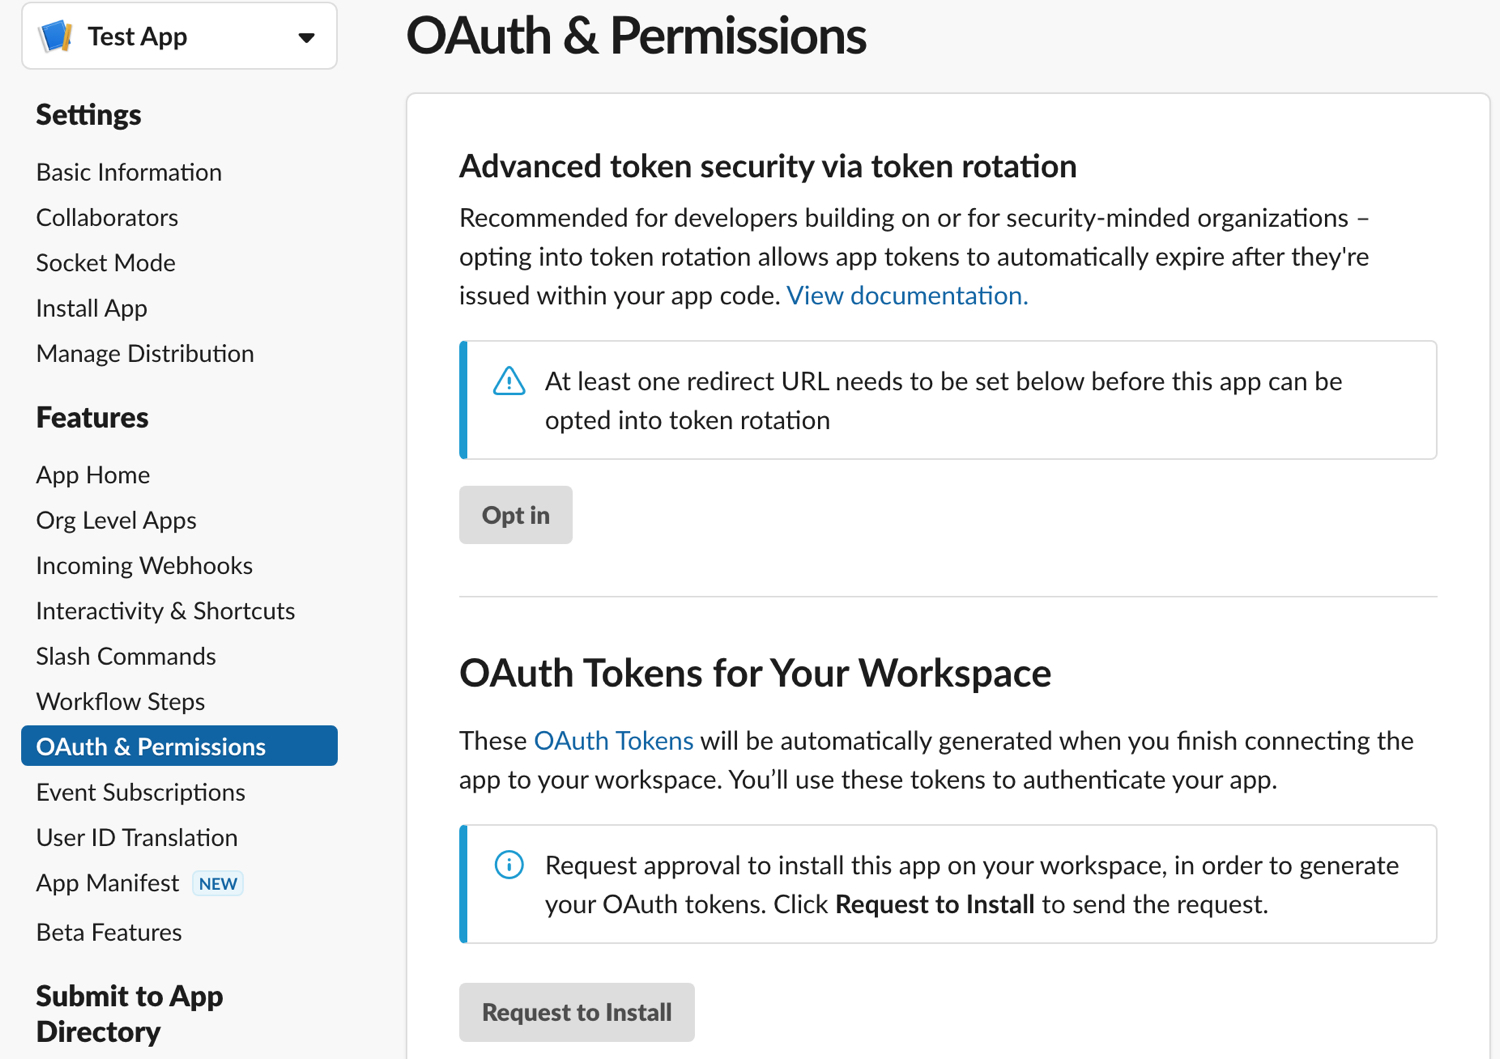
I went with OAuth tokens for my app. When I deploy, I set the token value as a 'SLACK_BOT_TOKEN' environment variable.
This is about as far as you can get in Slack before it's time to turn your attention to the Flask app.
A simple Flask app
Your Flask app needs to have a POST route - when Slack sends messages, they will be in the form of a JSON payload that's posted to that endpoint.
from flask import Flask, Response
from flask import request as flask_request

app = Flask(__name__)

@app.route("/", methods=['GET'])
def hello():
    return Response("Hello, World!"), 200

@app.route('/verify', methods=['POST'])
def inbound():
    """
    Inbound POST from Slack to test token
    """
    # When Slack sends a POST to your app, it will send a JSON payload:
    payload = flask_request.get_json()

    # This response will only be used for the initial URL validation:
    if payload:
        return Response(payload['challenge']), 200
Get your Flask app deployed into a production environment where it will be accessible via a url that Slack can reach. How you do that is up to you - there are so many ways and so many opinions that I leave it to you, dear reader, to decide.
Verify your url in Slack
Once your Flask app is deployed, you'll want to turn back to the Slack UI and continue setting up your application.
Go to the "Event Subscriptions" page and turn on "Enable Events". You'll see a text field that takes a request url. That url will be the path to the endpoint that you just deployed, e.g. https://example.com/verify.
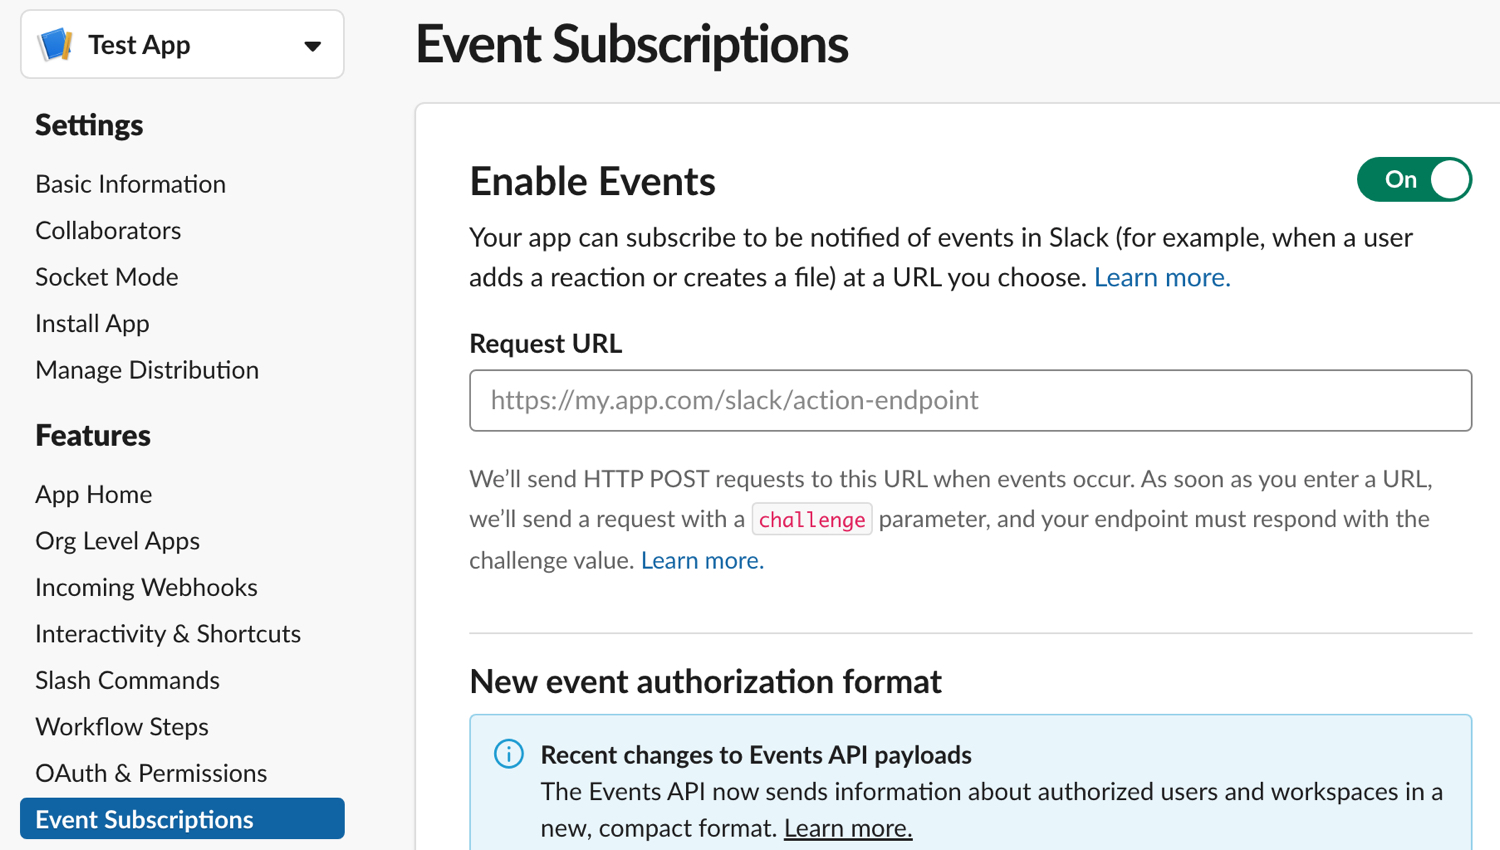
As you can see in the description, Slack will send a JSON payload to this endpoint. That JSON will look something like this:
{
    "token": "Jhj5dZrVaK7ZwHHjRyZWjbDl",
    "challenge": "3eZbrw1aBm2rZgRNFdxV2595E9CY3gmdALWMmHkvFXO7tYXAYM8P",
    "type": "url_verification"
}
You'll need to parse out the "challenge" value and return it, along with a 200, e.g.:
return Response(payload['challenge']), 200
Once that transaction is complete, you'll see "Request URL Verified" on the screen.
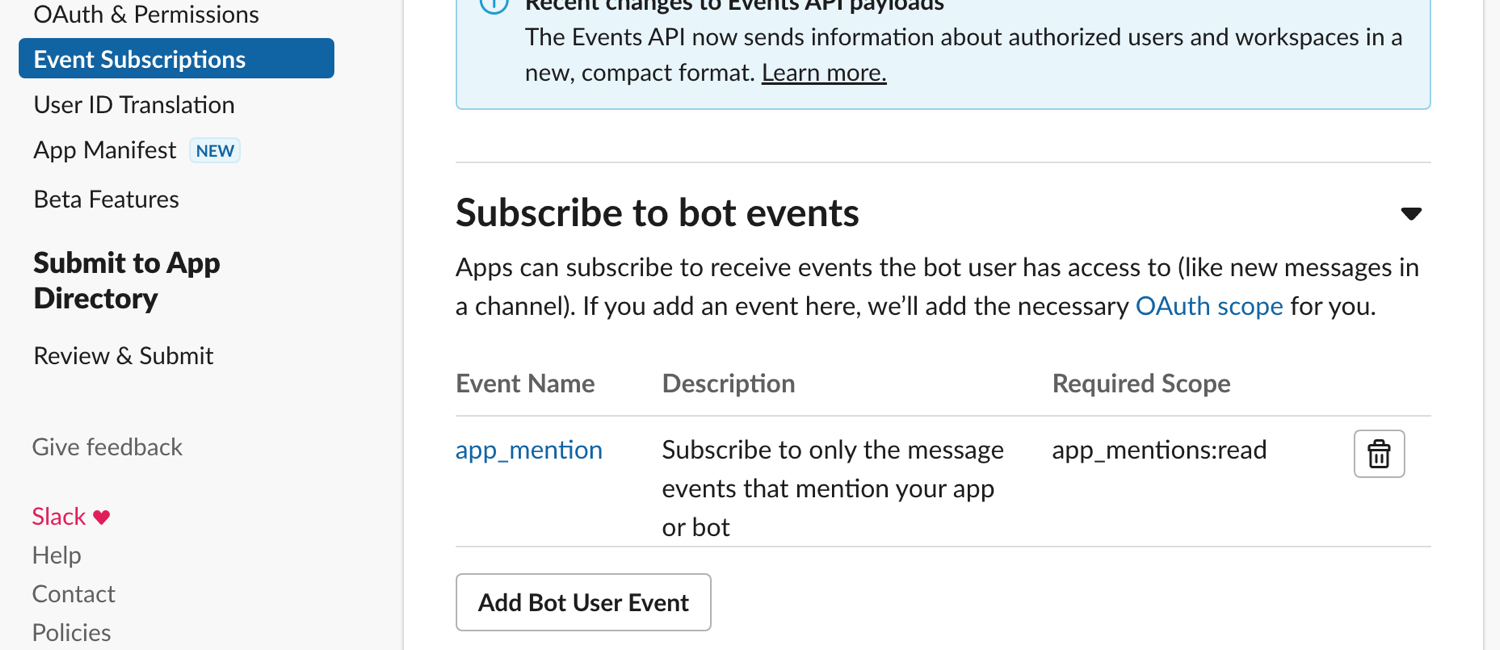
Now scroll down to "Subscribe to bot events" and "Add Bot User Event". For a bot that just listens for messages, `app_mention` is the event you want here. If you hadn't already added `app_mentions:read` in the scopes step, Slack will add it for you here. With this event listener in place, Slack will send a message payload to your endpoint whenever the app is mentioned.
Add message parsing in Flask
With that endpoint verified, you can now change your code to do something a little more useful. This is a simplified piece of code that demonstrates the structure you'll need to receive and respond to messages from Slack. What you do with those messages is up to you:
import os

from flask import Flask, Response
from flask import request as flask_request
from gevent.pywsgi import WSGIServer
from slack_sdk.web import WebClient

app = Flask(__name__)

@app.route("/", methods=['GET'])
def hello():
    return Response("Hello, World!"), 200

@app.route('/verify', methods=['POST'])
def inbound():
    """
    Inbound POST from Slack
    """
    accepted_channels = ['YYY', 'ZZZ']

    # When Slack sends a POST to your app, it will send a JSON payload:
    payload = flask_request.get_json()

    client = WebClient(token=os.environ['SLACK_BOT_TOKEN'])

    if payload:
        # An optional security measure - check to see if the
        # request is coming from an authorized Slack channel
        channel_id = payload['event']['channel']
        if channel_id in accepted_channels:
            pass
        else:
            sys.exit()

        message = None
        try:
            # This is kludgy, I know, but the message text is buried pretty far down in the payload
            elements = [x for x in payload['event']['blocks']][0]['elements'][0]['elements']
            message = [e['text'].strip() for e in elements if e['type'] == 'text'][0]
            client.chat_postMessage(channel=channel_id, text=f"Message received at {str(datetime.now())}: {message}")
        except Exception as e:
            client.chat_postMessage(channel=channel_id, text=f"Error: Message text not in payload {e}")

        # Once you have the content of the Slack message, you can do whatever you like with it.
        # In my specific use case, I'm checking to see if the message contains the path to an object,
        # and if so, I pass the path into another method that proceeds with the cache purges.
        object_path = parse_payload(payload)
        if object_path:
            purge(object_path)
            client.chat_postMessage(channel=channel_id, text=f"Object {object_path} purged successfully")
        else:
            client.chat_postMessage(channel=channel_id, text=f"Valid identifier required")

if __name__ == "__main__":
    listener = ('0.0.0.0', 8088)
    try:
        print('Gevent WSGIServer is listening on %s:%d.' % listener)
        http_server = WSGIServer(listener, app)
        http_server.serve_forever()
    except Exception as e:
        print(f"Startup error: {e}")
One important addition to this new version of the code is the `slack_sdk` library. `slack_sdk` has a WebClient that makes connecting to the Slack API really simple. All you need is your bot token to instantiante it, and you can use that client to make requests about all kinds of data (depending on what scopes have been assigned to your bot). Some examples:
>>> from slack_sdk import WebClient
>>> slack_token = os.environ["SLACK_BOT_TOKEN"]
>>> client = WebClient(token=slack_token)
>>> client.api_call("api.test")
<slack_sdk.web.slack_response.SlackResponse object at 0x1057d6040>
>>> t = client.api_call("api.test")
>>> t
{'ok': True, 'args': {'token': 'bbb'}}
>>> client.api_call("auth.test").data
{'ok': True, 'url': 'https://yourworkspaceurl.com/', 'team': 'Your Team Name', 'user': 'github_actions', 'team_id': 'Tttttt', 'user_id': 'Uuuuuu', 'bot_id': 'Bbbbbb', 'is_enterprise_install': False}
In this case, we're using the client's `chat_postMessage` method to send a message back into Slack:
client.chat_postMessage(channel=channel_id, text=f"Message received at {str(datetime.now())}: {message}")There's a lot more documentation to be found in the slack_sdk repo on GitHub.
I've also removed the payload challenge response - once the url has been verified, future payloads will not contain the challenge value.
Finishing up in Slack
Back in the Slack UI, you'll need to go to the OAuth page and add a redirect url. This will just be your application's url, minus the "verify" route.
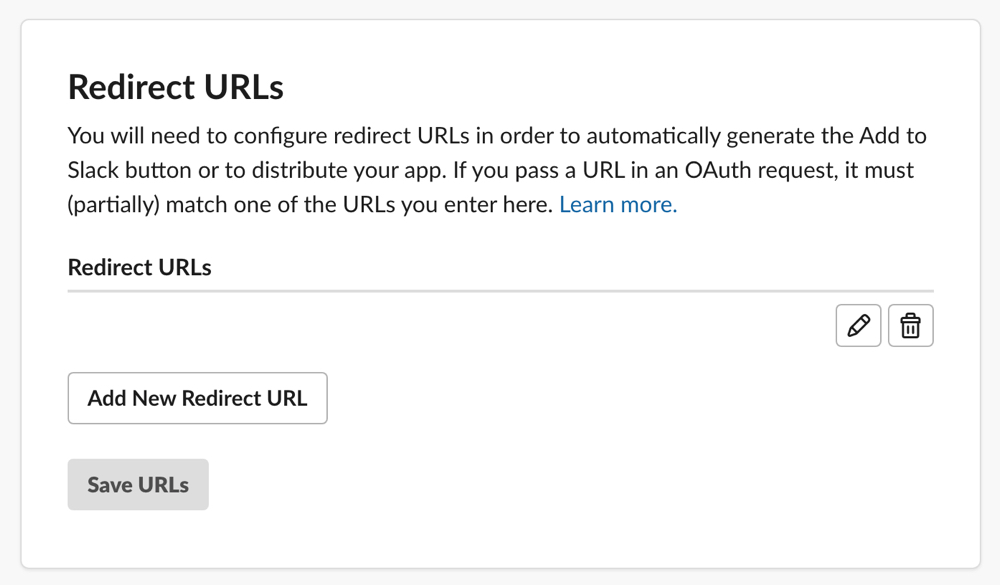
Almost done! With the Flask app and Slack setup complete, you'll need to install the app to your Slack workspace.
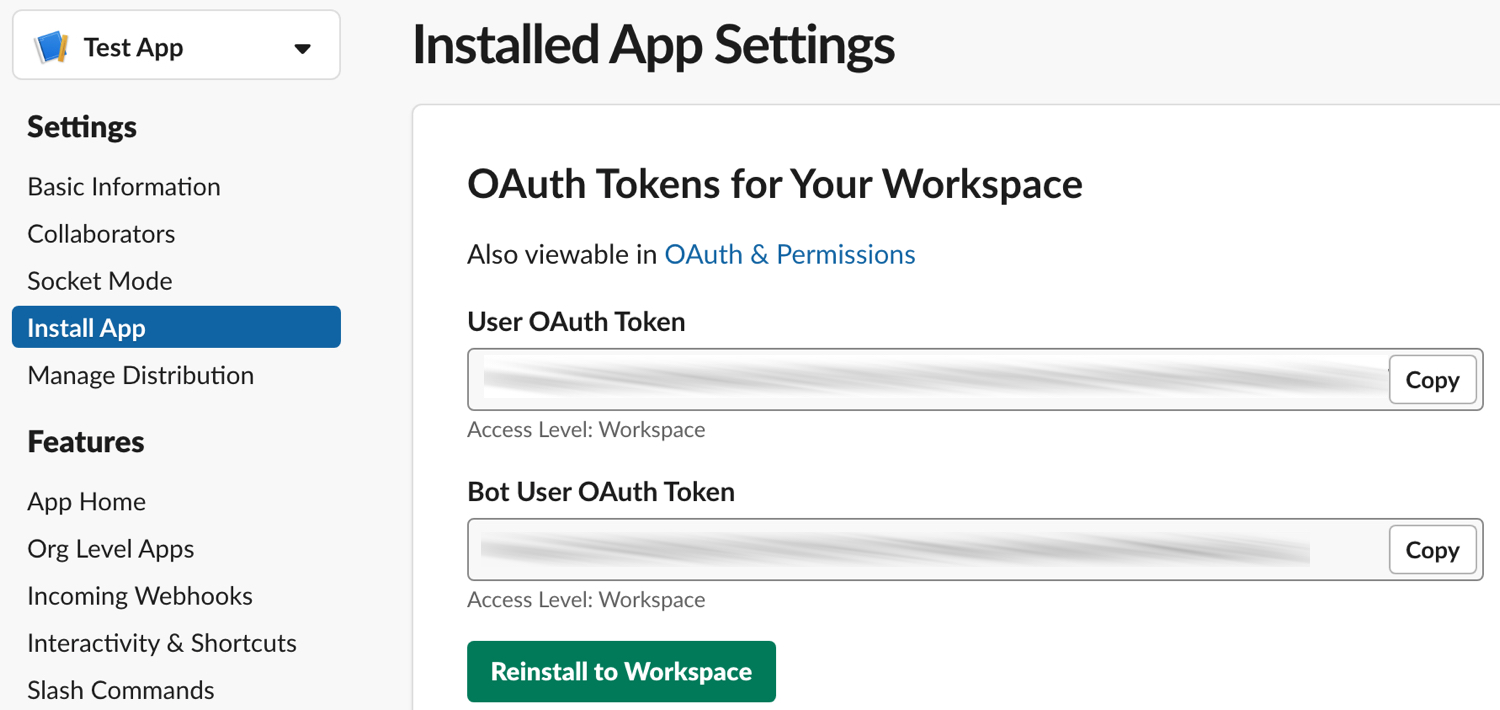
This step makes the app available to the workspace, but you will still need to install the app in a channel to begin using it.

Once it's installed, your app should be ready to receive messages and post back replies. Go to the Slack channel, mention the bot name, and you should see a response!
Contact: barbara@mechanicalgirl.com